How To Apply Otterwax
Washington based Coal Headwear has teamed up with Portlands’ own Otterwax and produced a Cotton 5-Panel hat that comes with a little brick of wax to waterproof the hat to survive the elements. Adventure Seekers has a guide on how to apply the wax ensuring the hat outlasts your latest adventure.
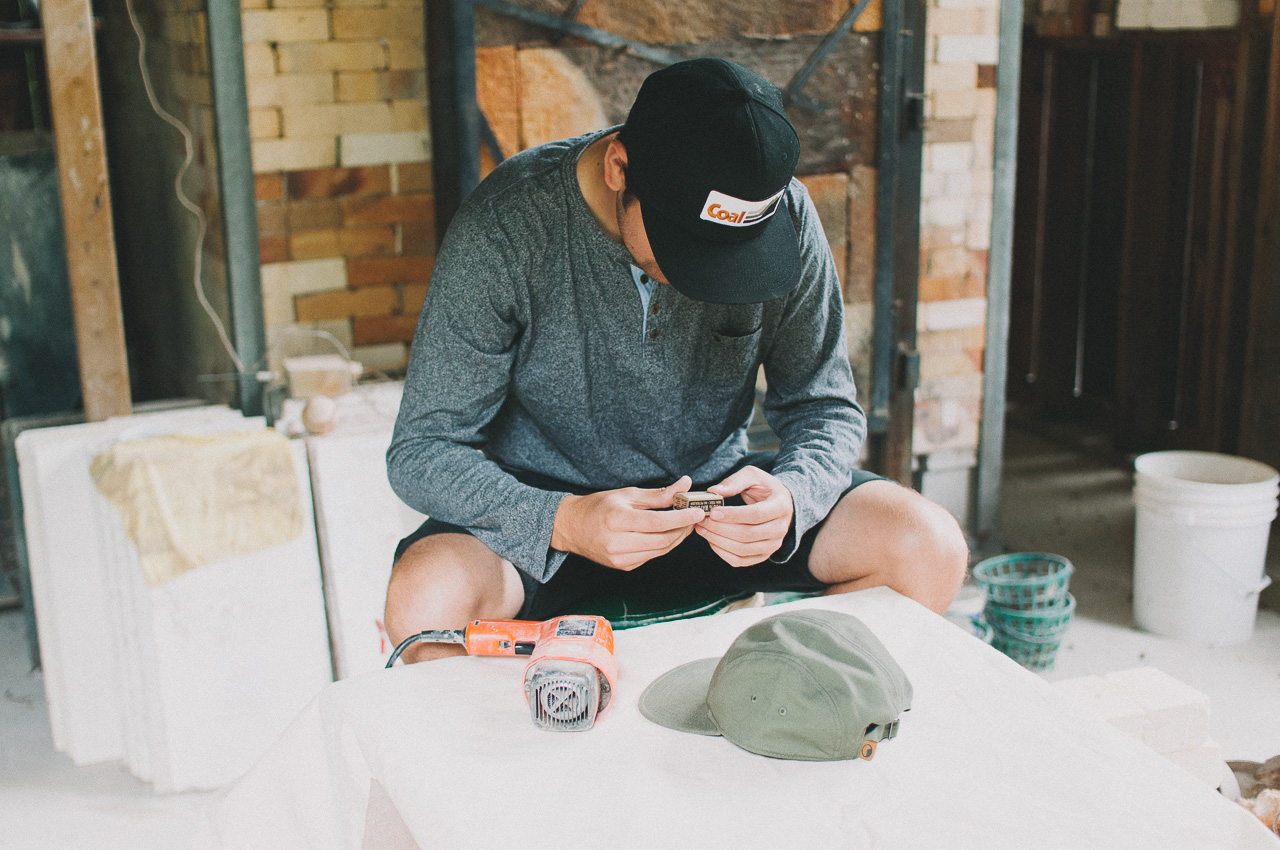
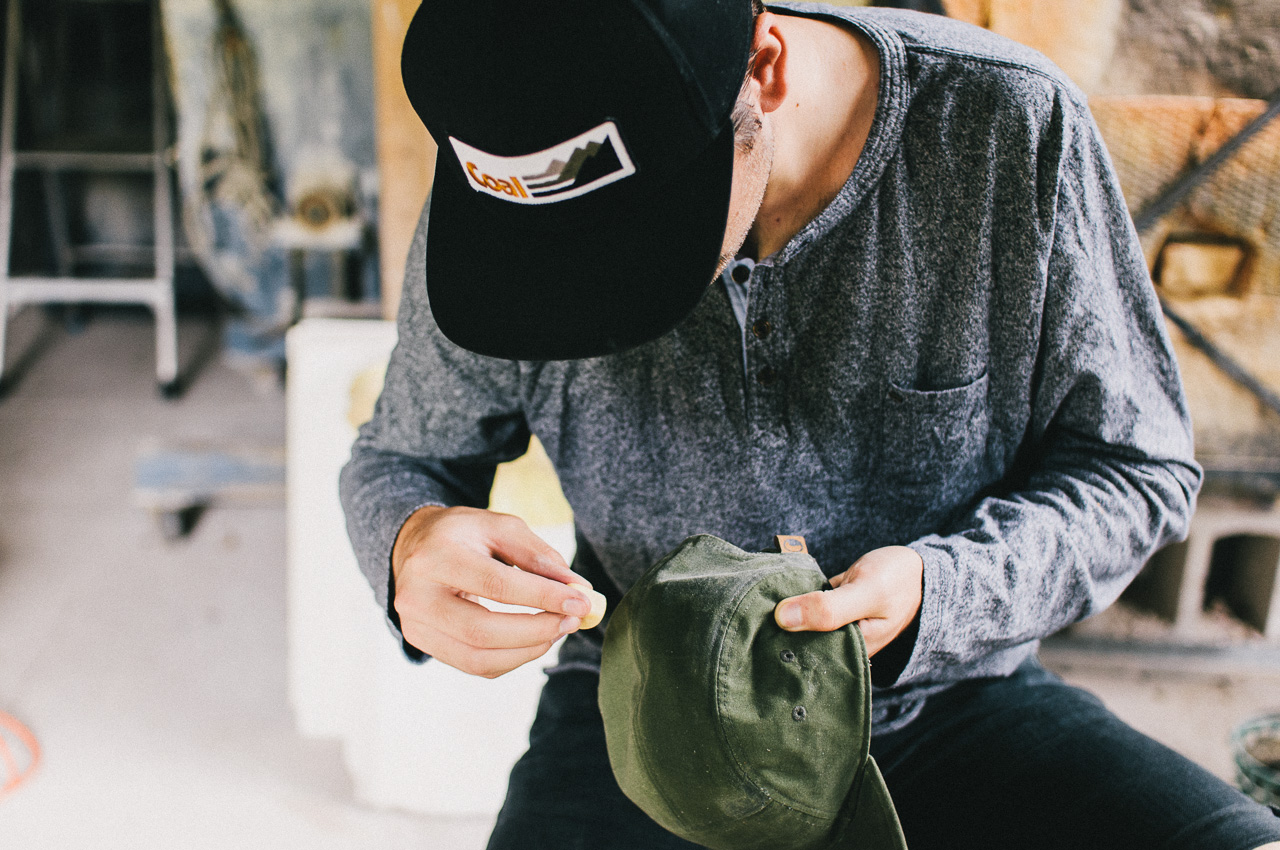
First things first; you need to assemble your gear and make a workspace. Here we have a heat-gun (hair dryer works well too) and the 5-panel along with the bundled brick of Otterwax on a sheet of thick canvas to make for an easy clean-up. Since you are working with a heat-source it must be said that you should keep all flammable materials away from your work space and to be careful; go slow and take your time. If you put too much heat on the hat it can damage it and potentially start on fire.
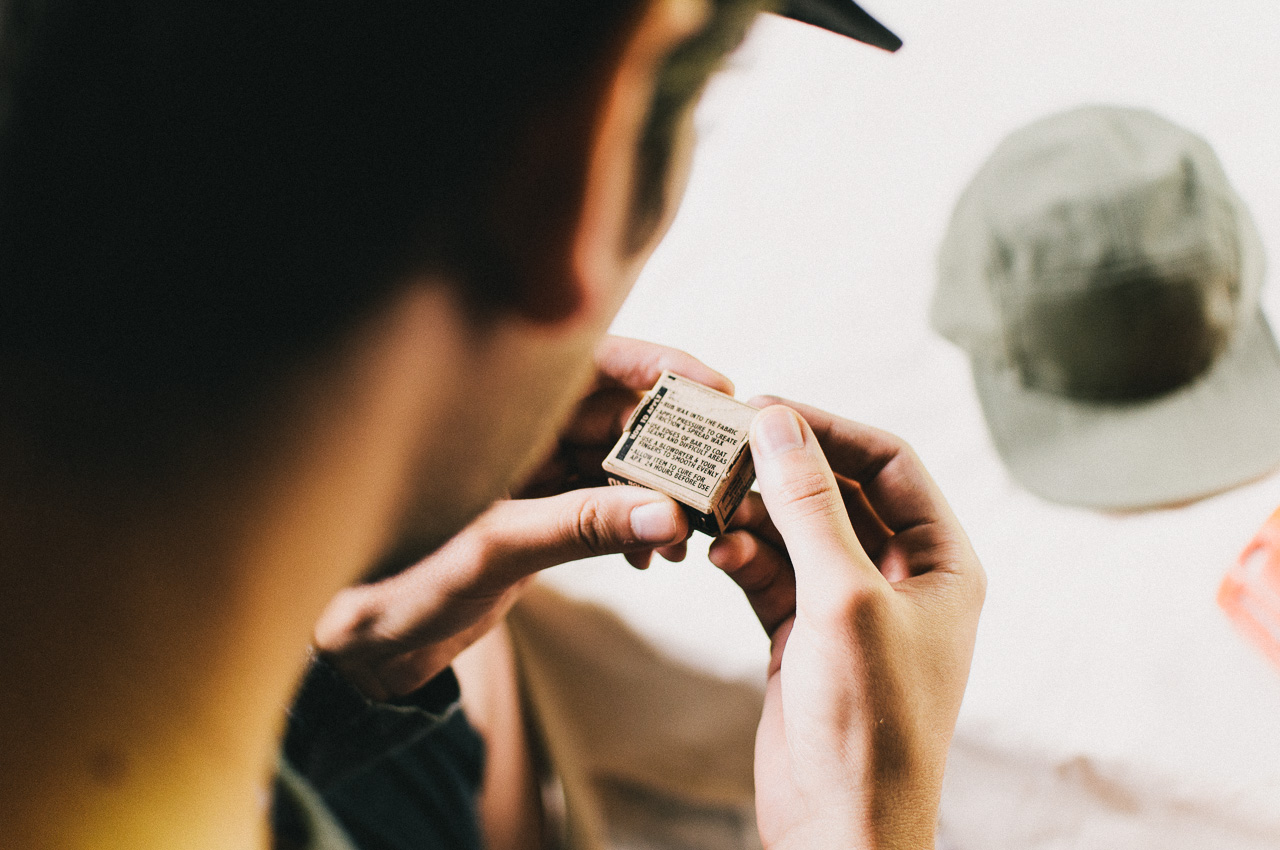
Don’t rush into this! Make sure you understand the process and familiarize yourself with what you are doing here – In its simplest explanation; you’re rubbing heated wax into cotton fabric and the hard part is finding the balance between application, heat temperature and the “smoothness” of the wax. Depending on your style you can make it chunky or smooth looking. Up to you.
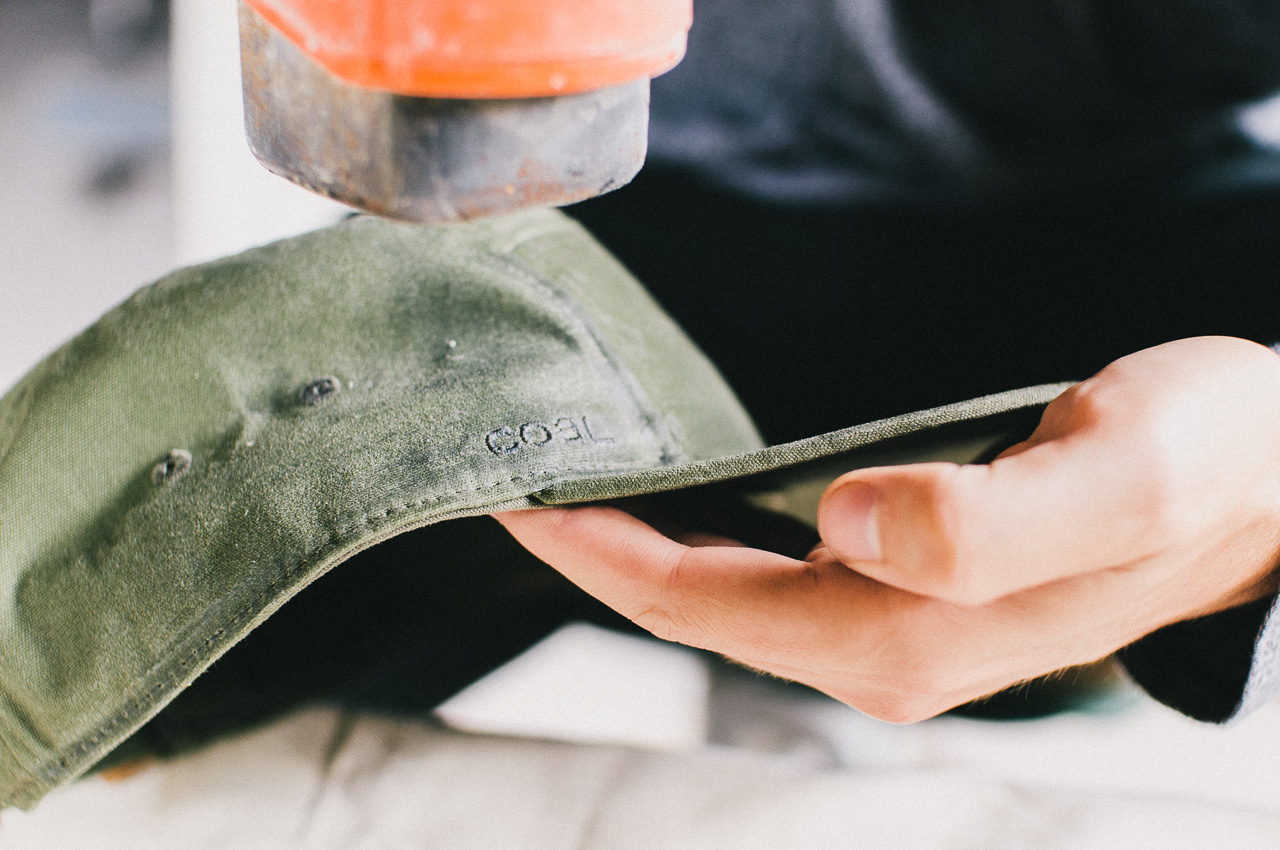
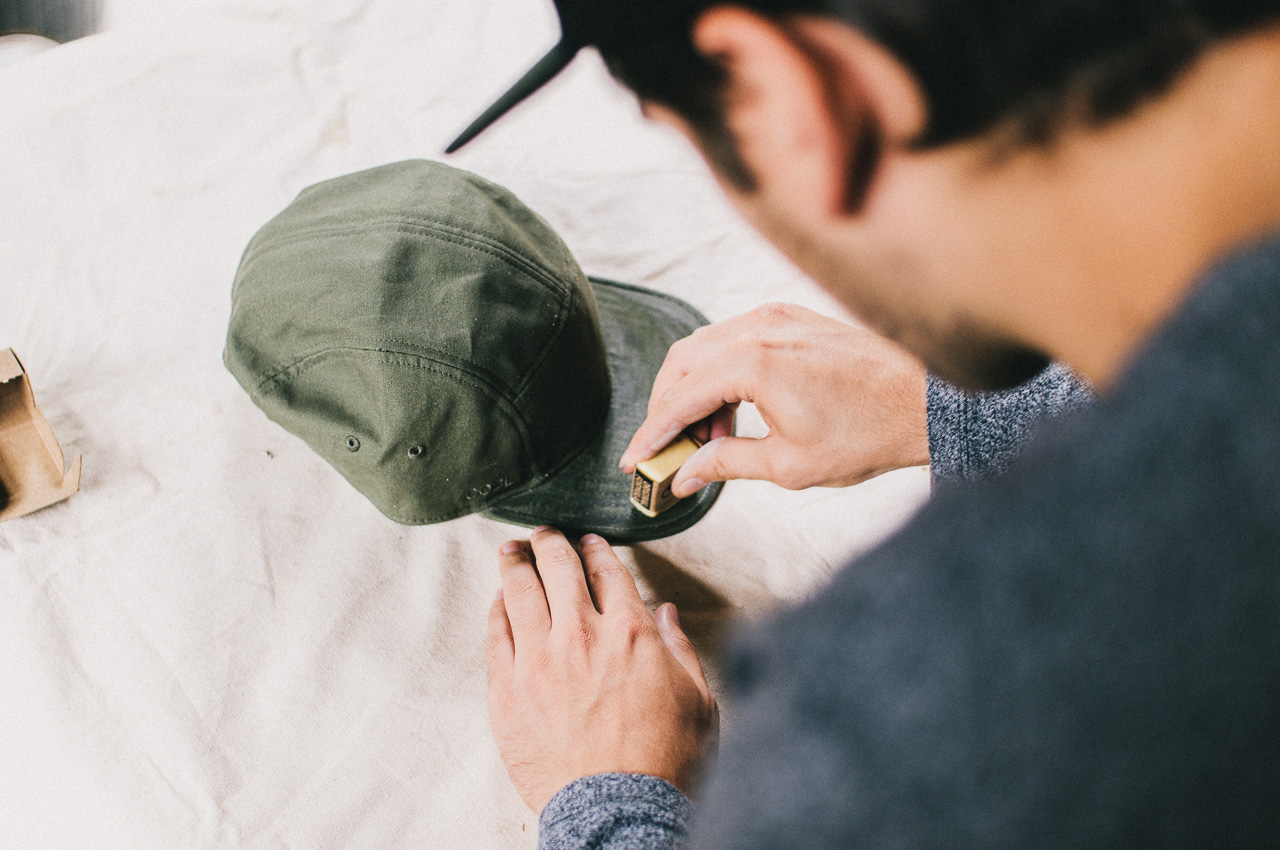
Once you are familiar with the steps on the package – It’s time to get started. You will want to start by doing one panel at a time; no need to get carried away. We started on the bill of the hat by heating it up with the heat-gun and rubbing the wax into the fabric in a basic back-and-forth motion.
Once the wax starts to build up, it’s time to blast it with a bit more heat. You want to heat it up enough that the wax melts on contact and goes on smooth. The bill has the least amount of fabric so you don’t need to slop it on – just a couple of passes will do and pay attention to the seam that connects the bill to the main body of the hat…that’s where water will want to seep through.
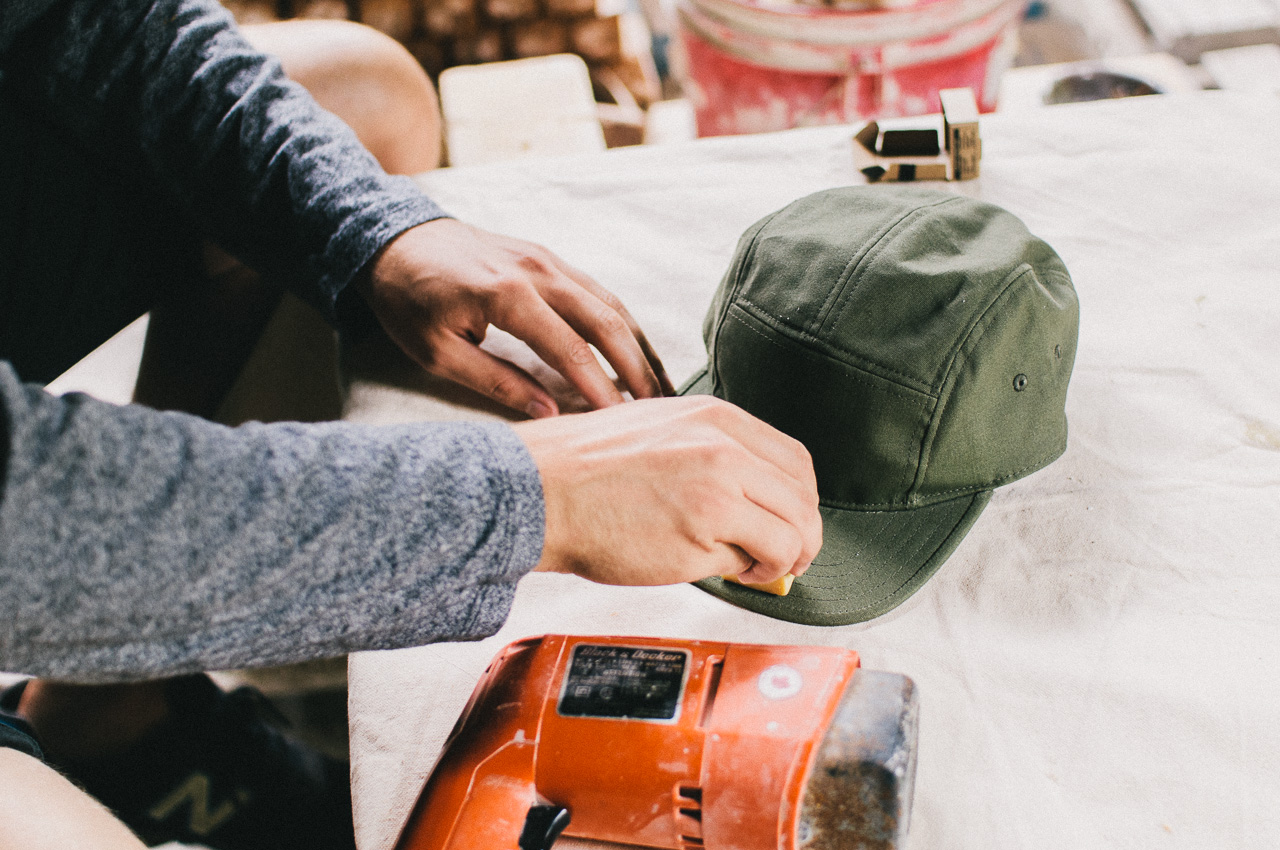
Since it is a 5-Panel hat, you know how many you will need to do so keep an eye on your wax level. Heat up each section with the gun, apply wax and then re-heat so you can watch it seep into the fabric. Once the hat cools a bit you can see what parts you missed (it will be a lighter shade) and just re-apply until you achieve uniform coverage.
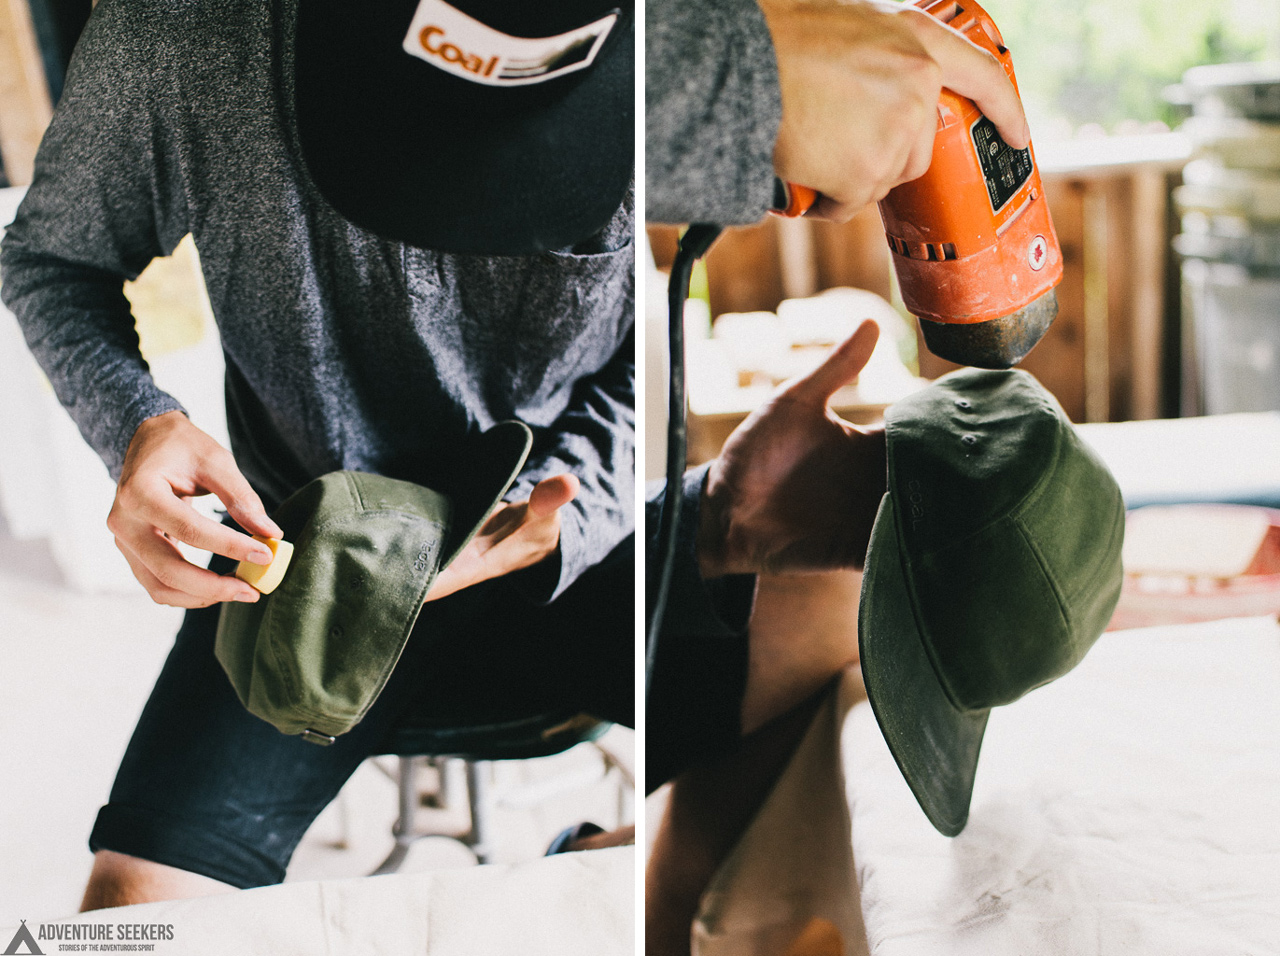
Continue heating up the panels first, then hitting each one with the wax in a back and forth motion going from the bottom of each panel to the top. If the wax is going on chunky – grab the heat and “flatten” it out by blasting it with hot air, causing the wax to melt in.
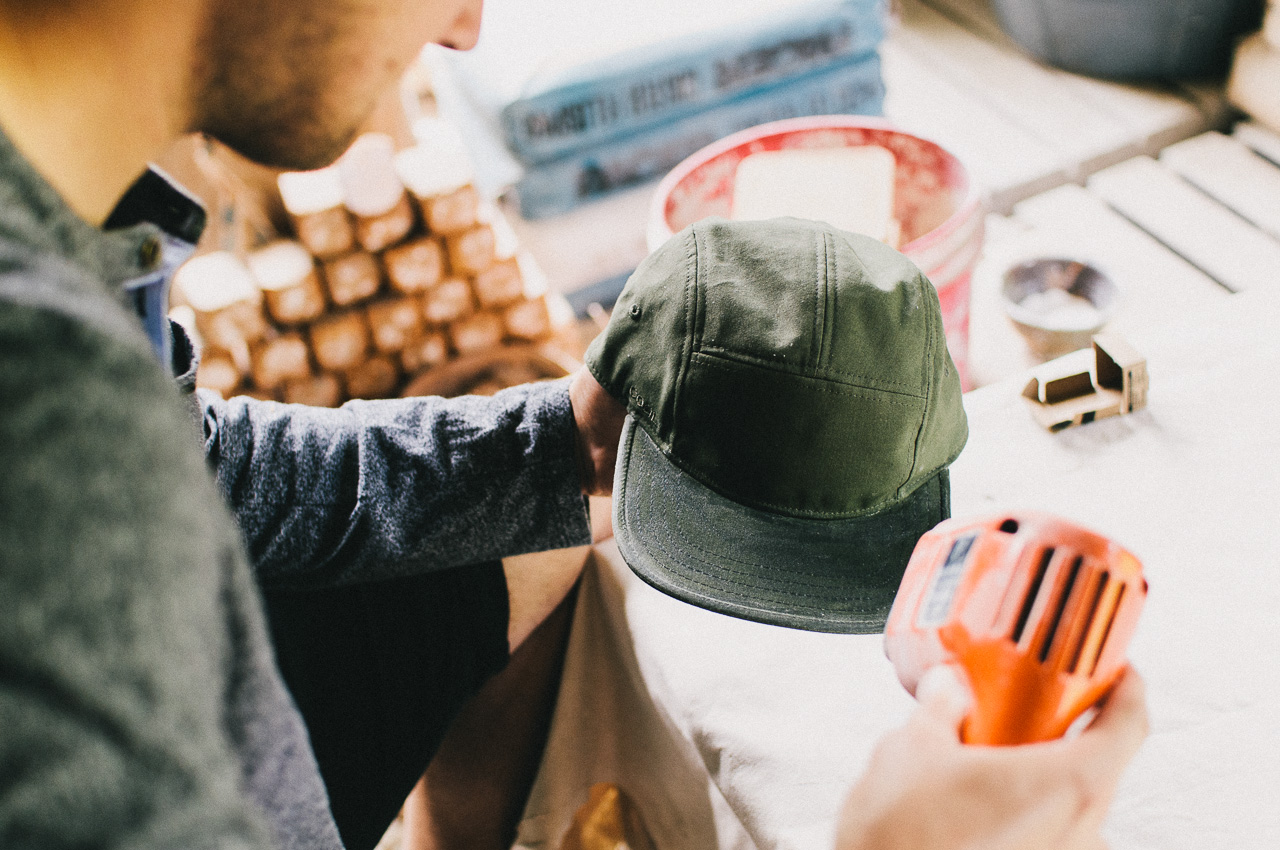
Work your way around the hat; don’t worry about getting it perfect that’s what you will be doing afterwards. Work on covering the entire hat and all essential places with the wax first and then you can fine-tune with the heat-gun and a paper-towel.

Make sure to pay close attention to the seams of the hat or anywhere water can pass through the seams and onto your head. Use the edges of the block of wax to rub them into seams and stitches.
Once you cover the entire hat with the wax it will look chunky and discolored; but not to fret you’re almost done! Use the heat to re-melt some of the blotches back into the hat and dab spots with a paper-towel to soak up excess areas. The wax will smooth out and become uniform after a couple passes with heat.
Let the hat sit and dry out while you check on it periodically to smooth out any areas you had missed before and wait a full 24 hours for the wax to cure before you head out into the rain with your new waterproof cap!
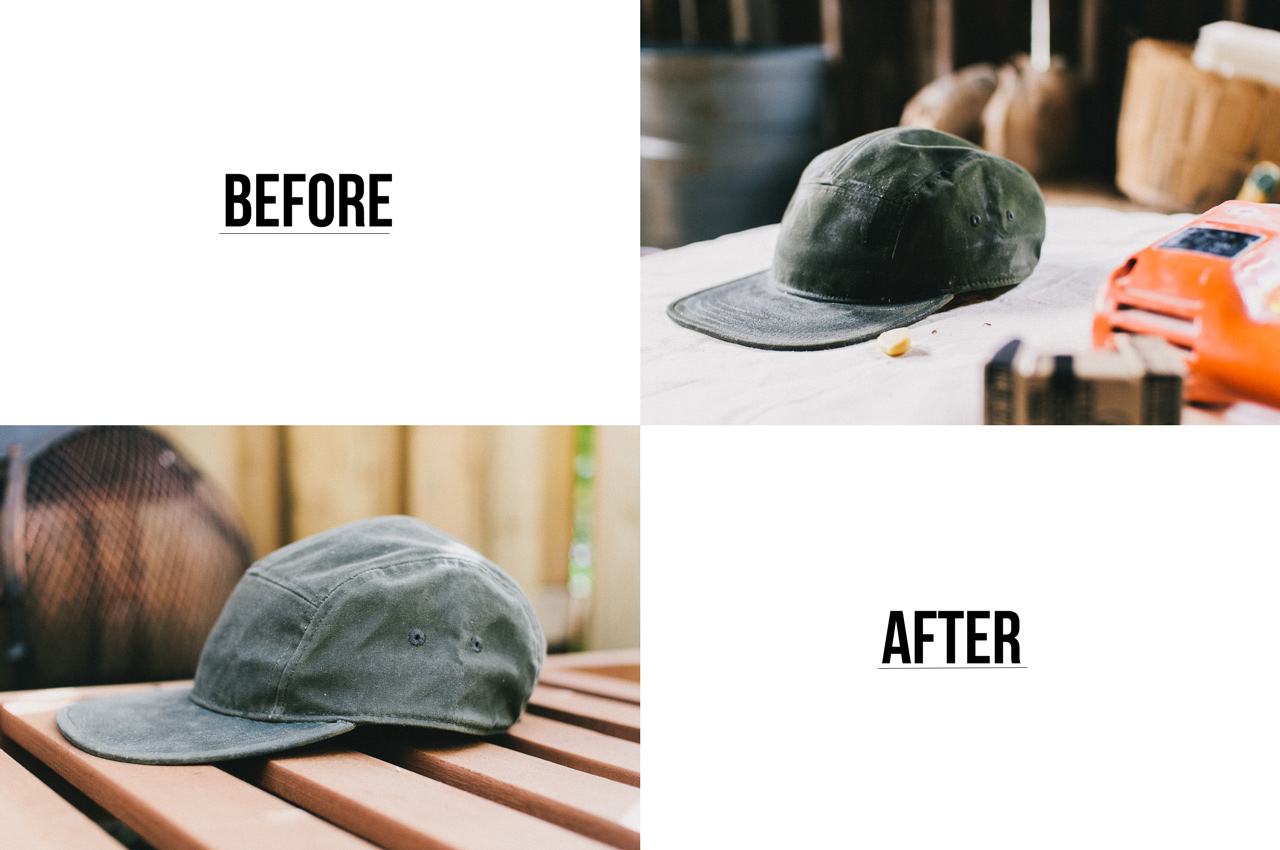
After 24hrs or so of curing, the hat should look a little darker and more textured from when you started – all good to go now!
Hats featured in this article are The Richmond SE and The Interstate